

Databricks Access Setup
Step 1: Create a Service Principal or Access Token
Create a dedicated service principal in your Databricks workspace that Pavo will use to access your data.
To create a Service Principal: Recommended
- Go to your Databricks Account Console → User Management → Service Principals
- Click Add Service Principal
- Name it: pavo-integration (or your preferred name)
- Generate an OAuth secret
- Upload the client Id and secret.
- Go to User Settings → Developer → Access Tokens
- Click Generate New Token
- Name it: pavo-integration
- Set expiration: 90 days (recommended) or as per your security policy
Step 2: Grant Databricks Permissions
The service principal/token needs the following permissions:Workspace Access
SQL commands to grant access:
Step 3: Create Analysis Schema
This step is only required if you want Pavo to run analysis queries that create temporary tables.
- Create a dedicated schema for Pavo’s temporary analysis tables:
- Grant write permissions:
Step 4: Add the Connector in Pavo
Navigate to Settings → Data sources and click Add source.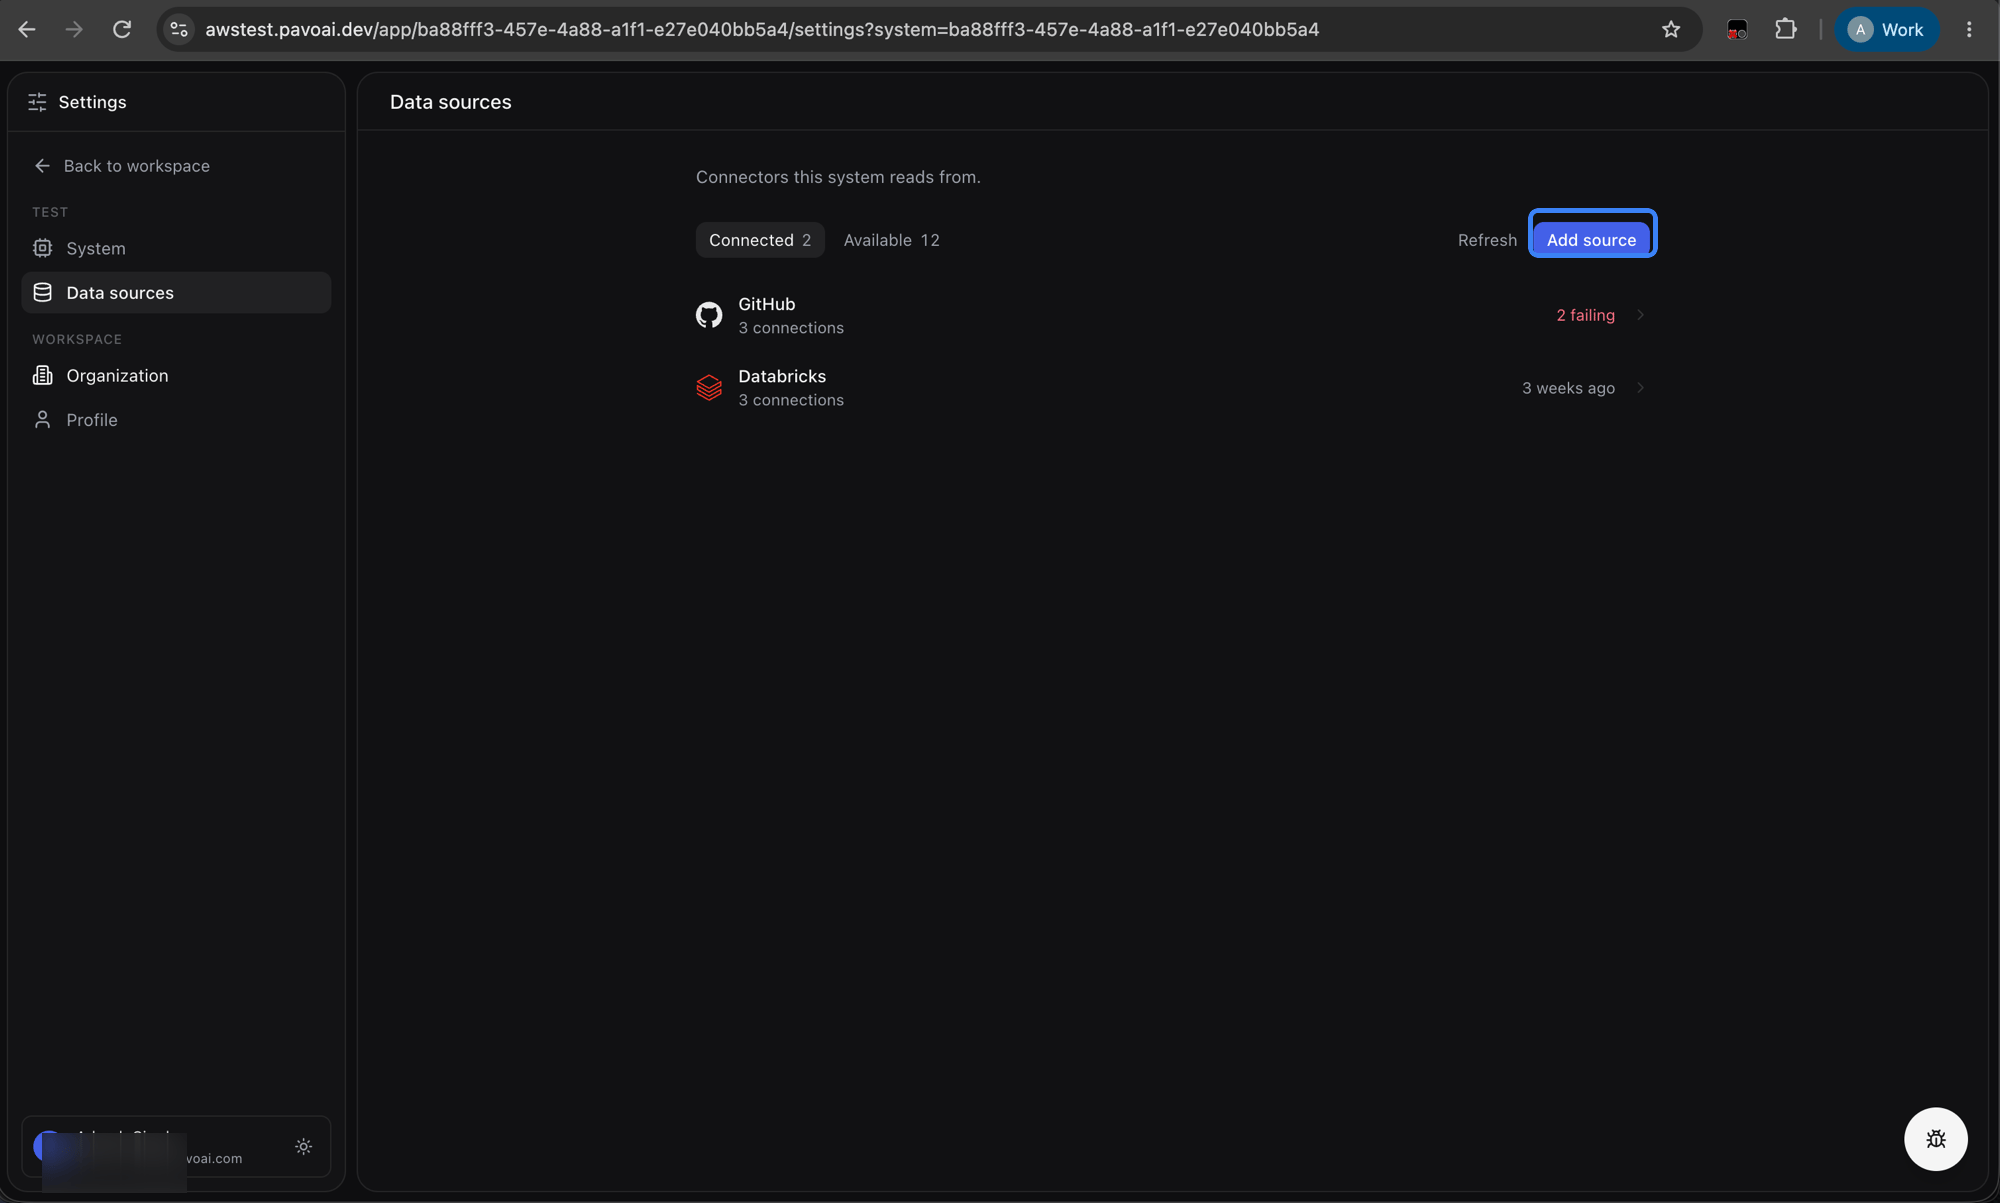
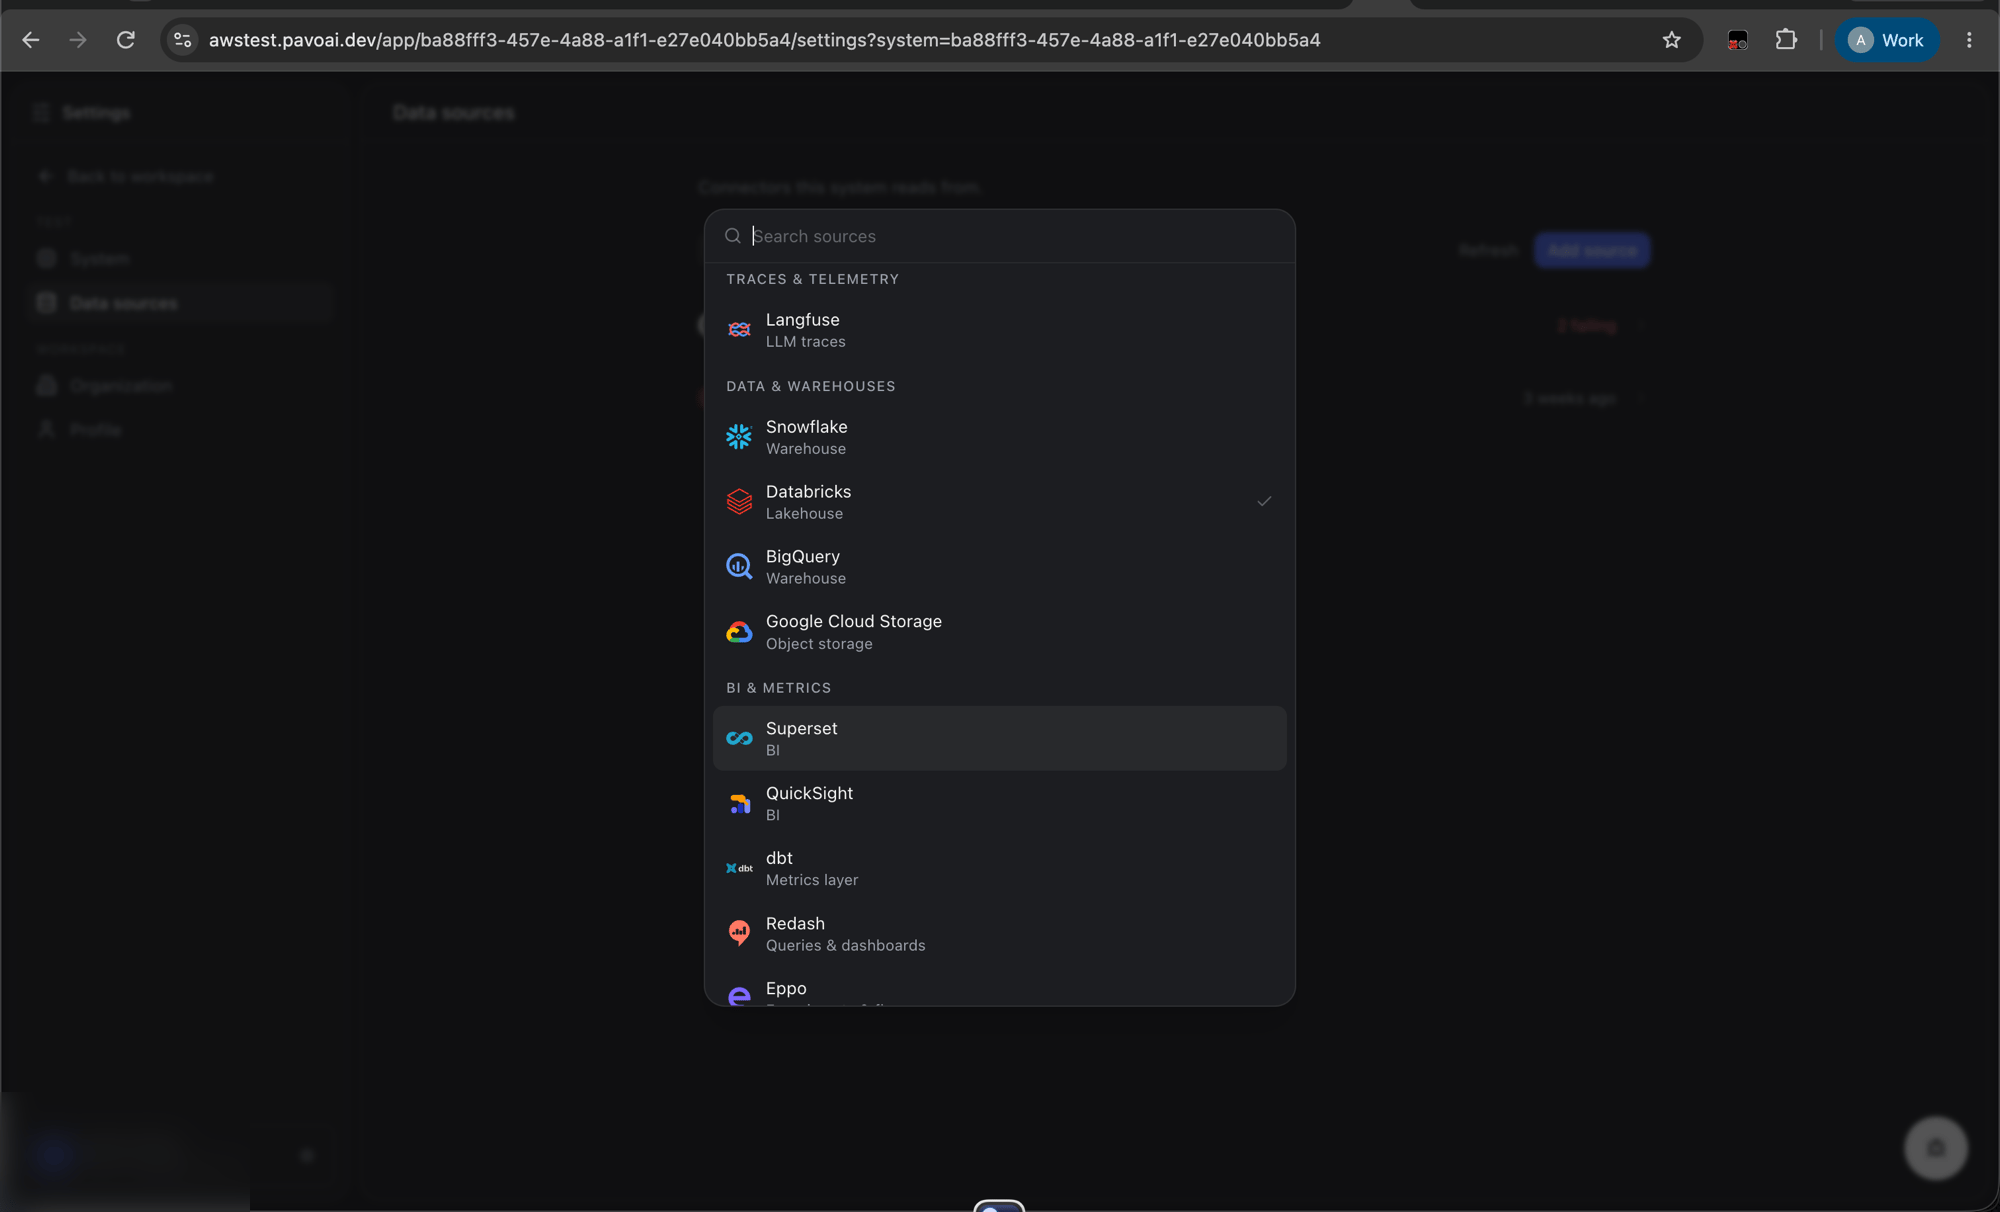
To find your HTTP Path: go to SQL → SQL Warehouses, click your warehouse → Connection details tab, and copy the HTTP Path.
Click Connect. Pavo will verify connectivity and begin syncing.