

Step 1: Add Connector
Navigate to Settings → Data sources and click Add source.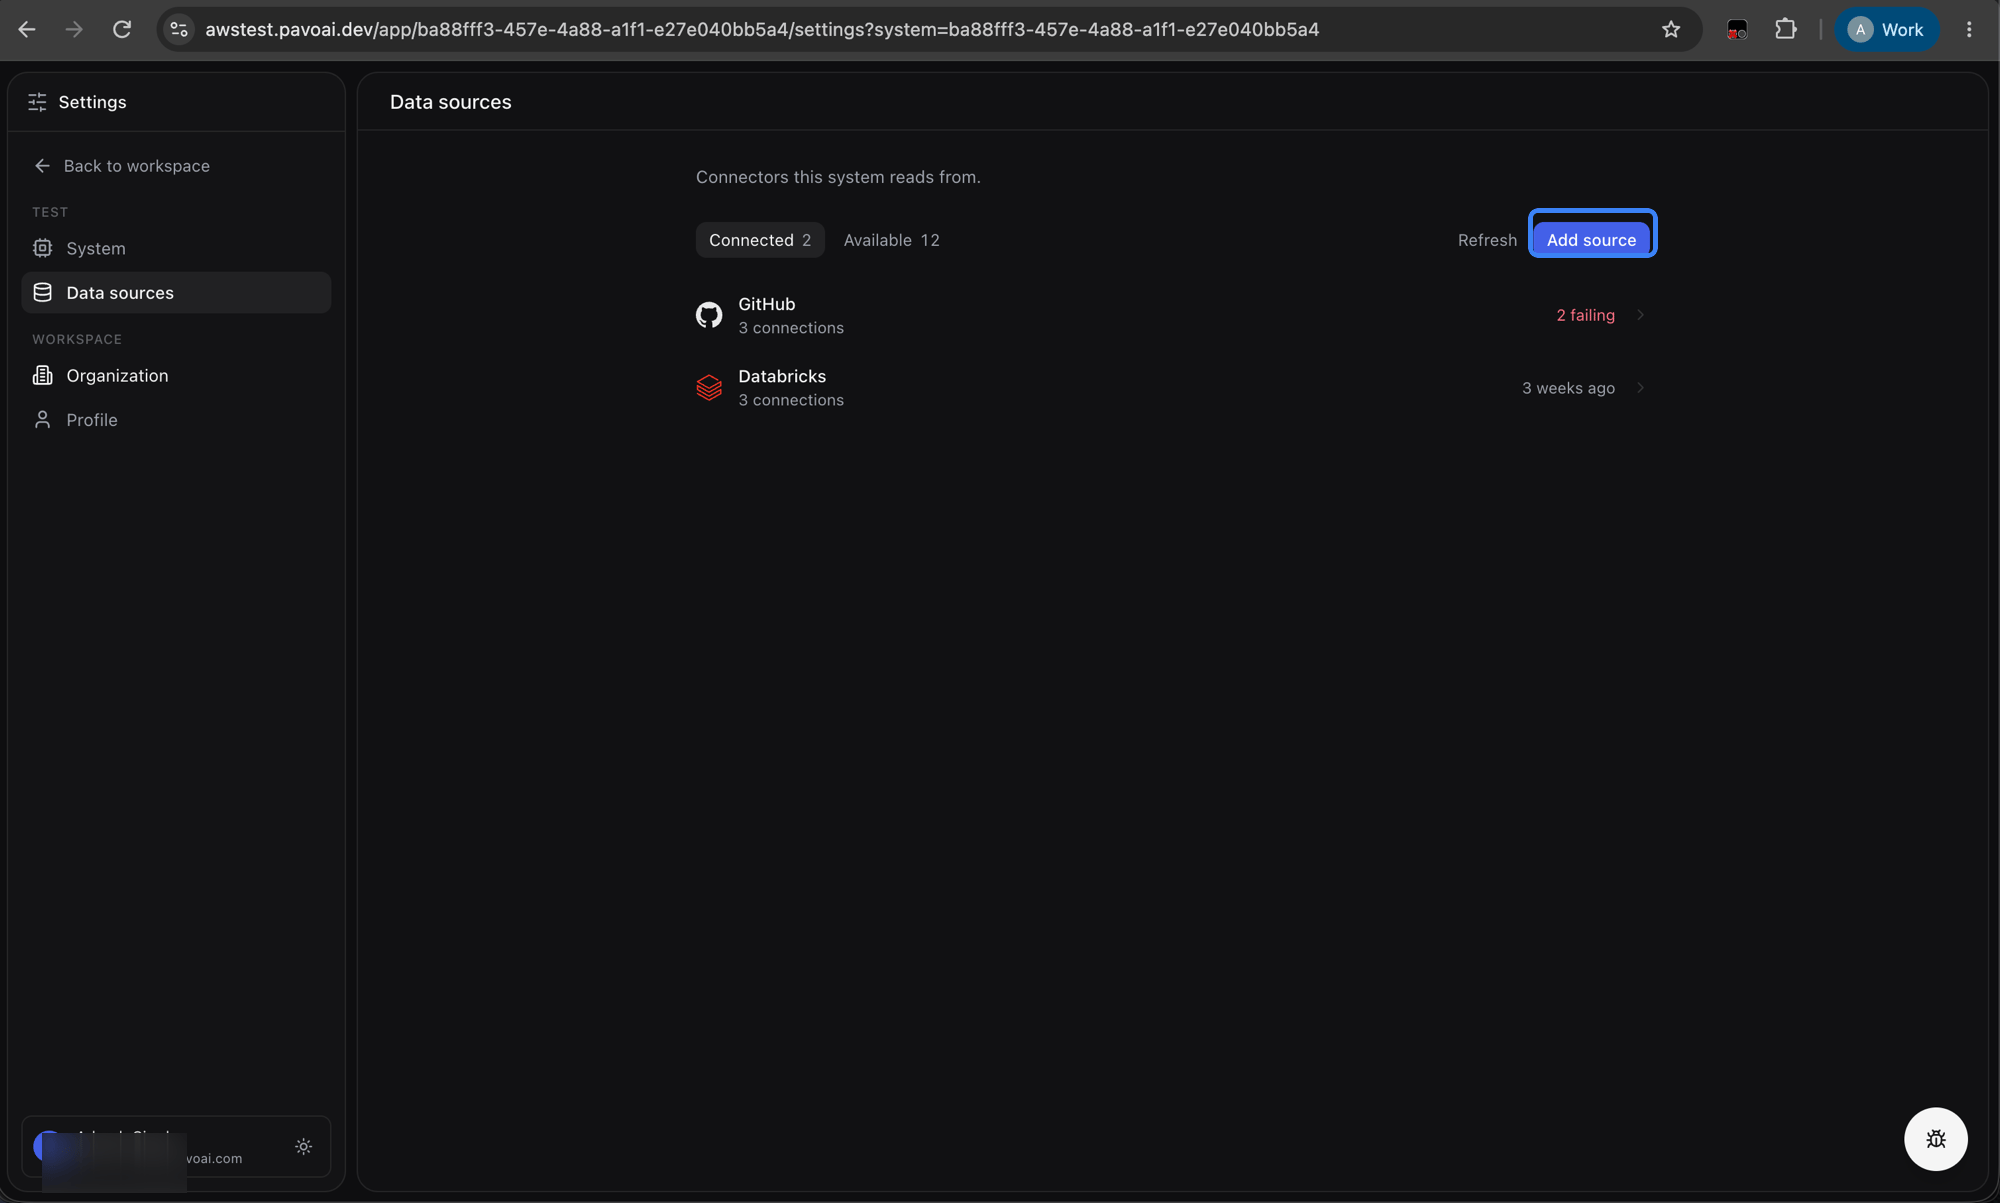
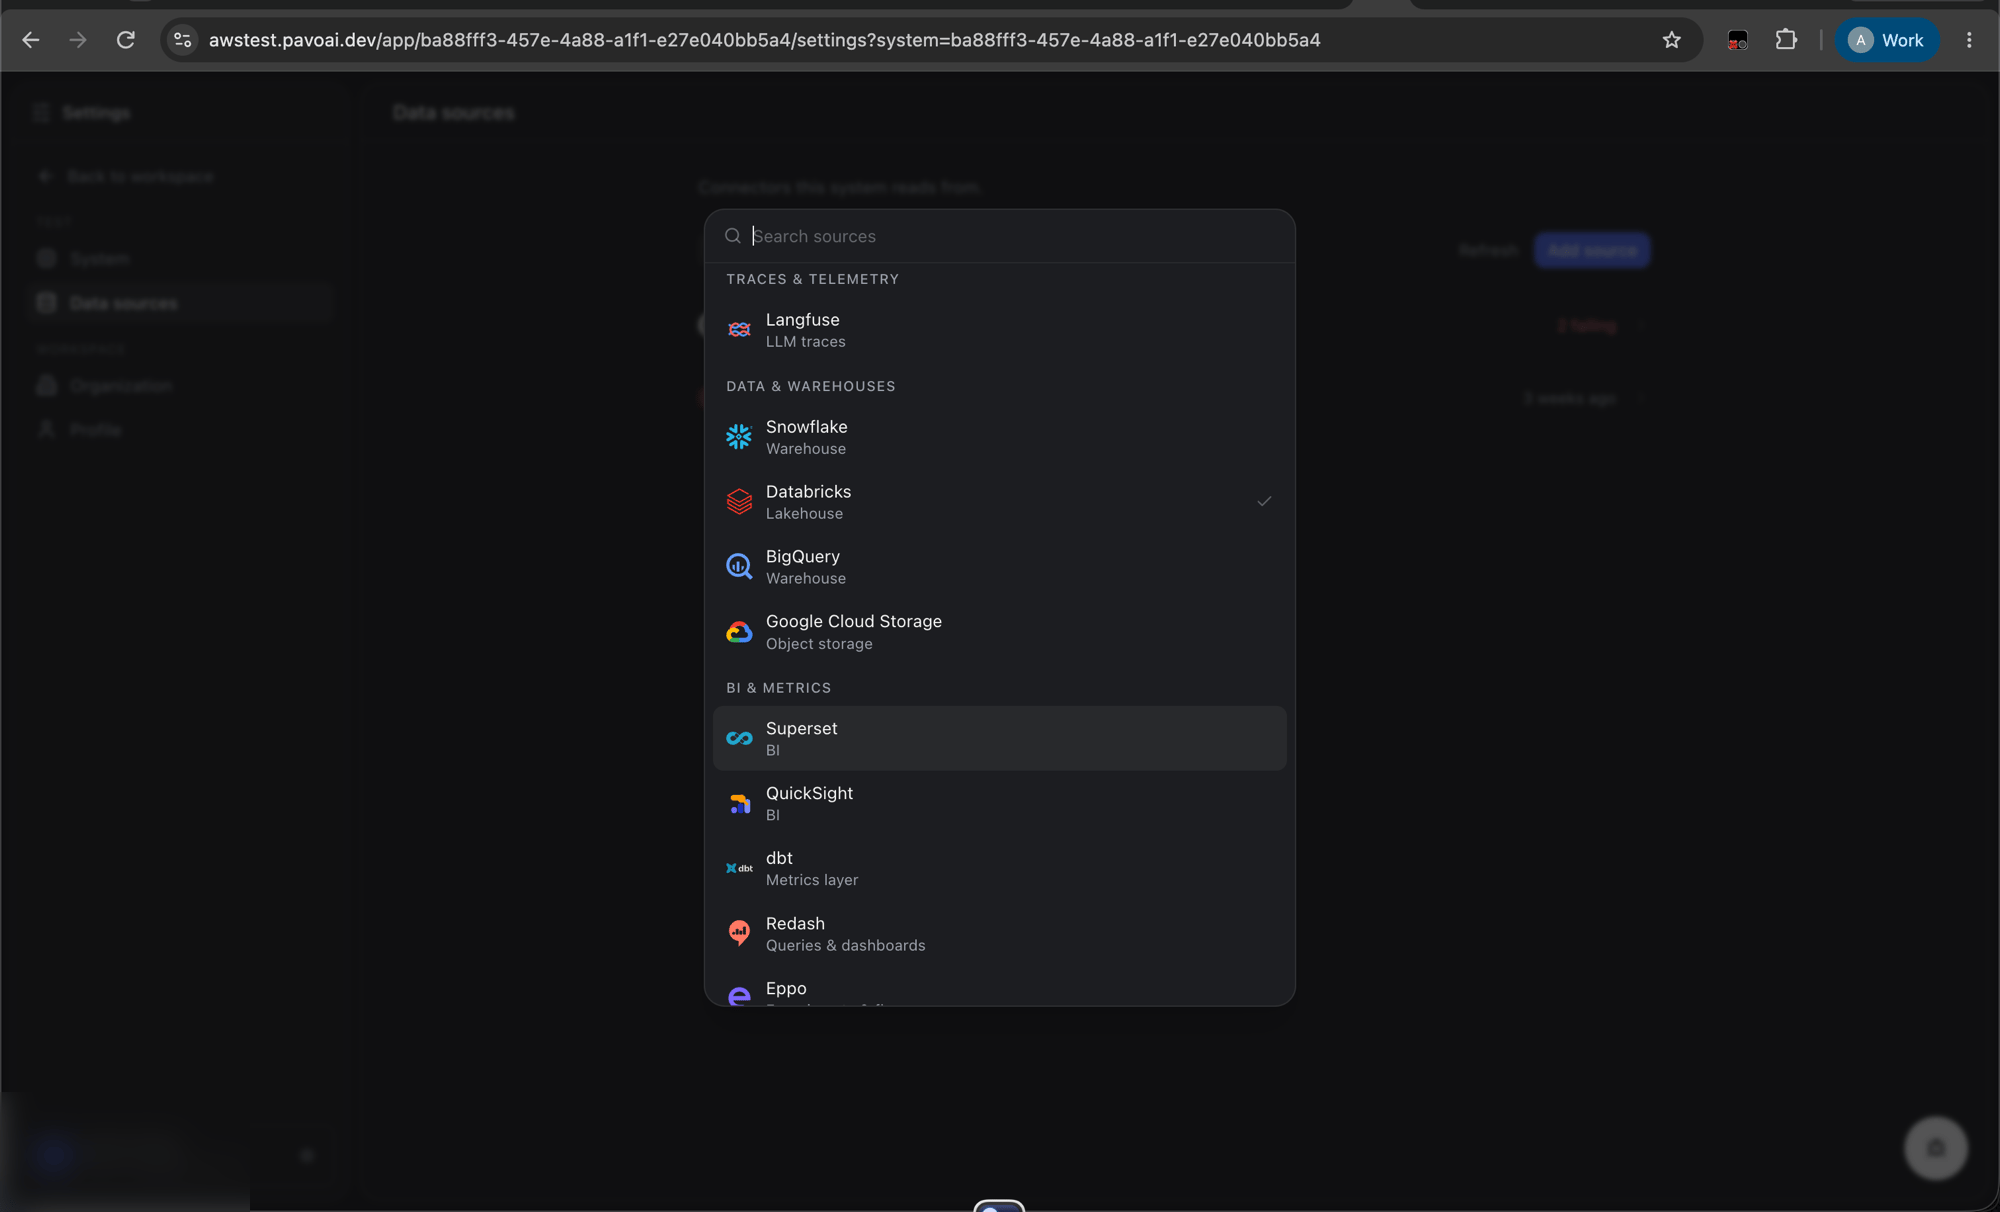
Optional fields
Use these to limit Pavo’s access scope:
Click Save. Pavo generates an RSA key pair behind the scenes and stores the private key securely.
Step 2: Copy the Setup SQL
You will see asetup_sql statement in the UI, an ALTER USER command that registers Pavo’s public key with your Snowflake account:
Step 3: Run on Snowflake
Log in to your Snowflake account (asACCOUNTADMIN or a role with ALTER USER privileges) and execute the SQL from Step 2.
This enables key-pair authentication so Pavo can connect without a password.
Step 4: Trigger Sync
Go back to the Pavo Connectors page and click Sync Now on the Snowflake connector. Pavo will connect using the registered key pair and begin syncing data.Pavo generates the RSA key pair server-side: the private key never leaves the system. This is more secure than password-based auth since no human handles the secret.