

Prerequisites
- An AWS account with Amazon QuickSight enabled
- IAM administrator access (or sufficient privileges to create IAM users and policies)
- Your AWS Account ID (12-digit number, found in the top-right menu of the AWS Console)
- The AWS Region where your QuickSight is set up (e.g.
us-east-1,ap-south-1)
Step 1: Create an IAM Policy for QuickSight Read Access
Pavo needs read-only access to your QuickSight resources. Create a dedicated IAM policy with the minimum required permissions.- Open the IAM Console and navigate to Policies → Create policy.
- Switch to the JSON tab and paste the following policy document:
- Click Next, give the policy a name (e.g.
PavoQuickSightReadOnly), and click Create policy.
The
Resource: "*" scope is required because QuickSight list operations do not support resource-level restrictions. All actions above are strictly read-only: Pavo cannot create, modify, or delete any QuickSight resources.Step 2: Create a Dedicated IAM User
Create a dedicated IAM user for Pavo so access can be audited and revoked independently.- In the IAM Console, go to Users → Create user.
- Enter a username (e.g.
pavo-quicksight-reader). - Do not enable AWS Management Console access: Pavo only needs programmatic access.
- Click Next.
- On the permissions page, choose Attach policies directly and search for the policy you created in Step 1 (
PavoQuickSightReadOnly). Select it. - Click Next → Create user.
Step 3: Generate Access Keys
Pavo authenticates using long-lived IAM access keys (access key ID + secret access key).- Open the IAM user you just created (
pavo-quicksight-reader). - Go to the Security credentials tab.
- Under Access keys, click Create access key.
- Select the use case Third-party service and acknowledge the recommendation.
- Click Create access key.
- Copy both values immediately, the secret access key is only shown once:
Store these values in a password manager. If you lose the secret key, you’ll need to delete the access key and create a new one.
Step 4: Gather Your Connection Details
You need four values to connect Pavo to QuickSight:Step 5: Add the Connector in Pavo
Navigate to Settings → Data sources and click Add source.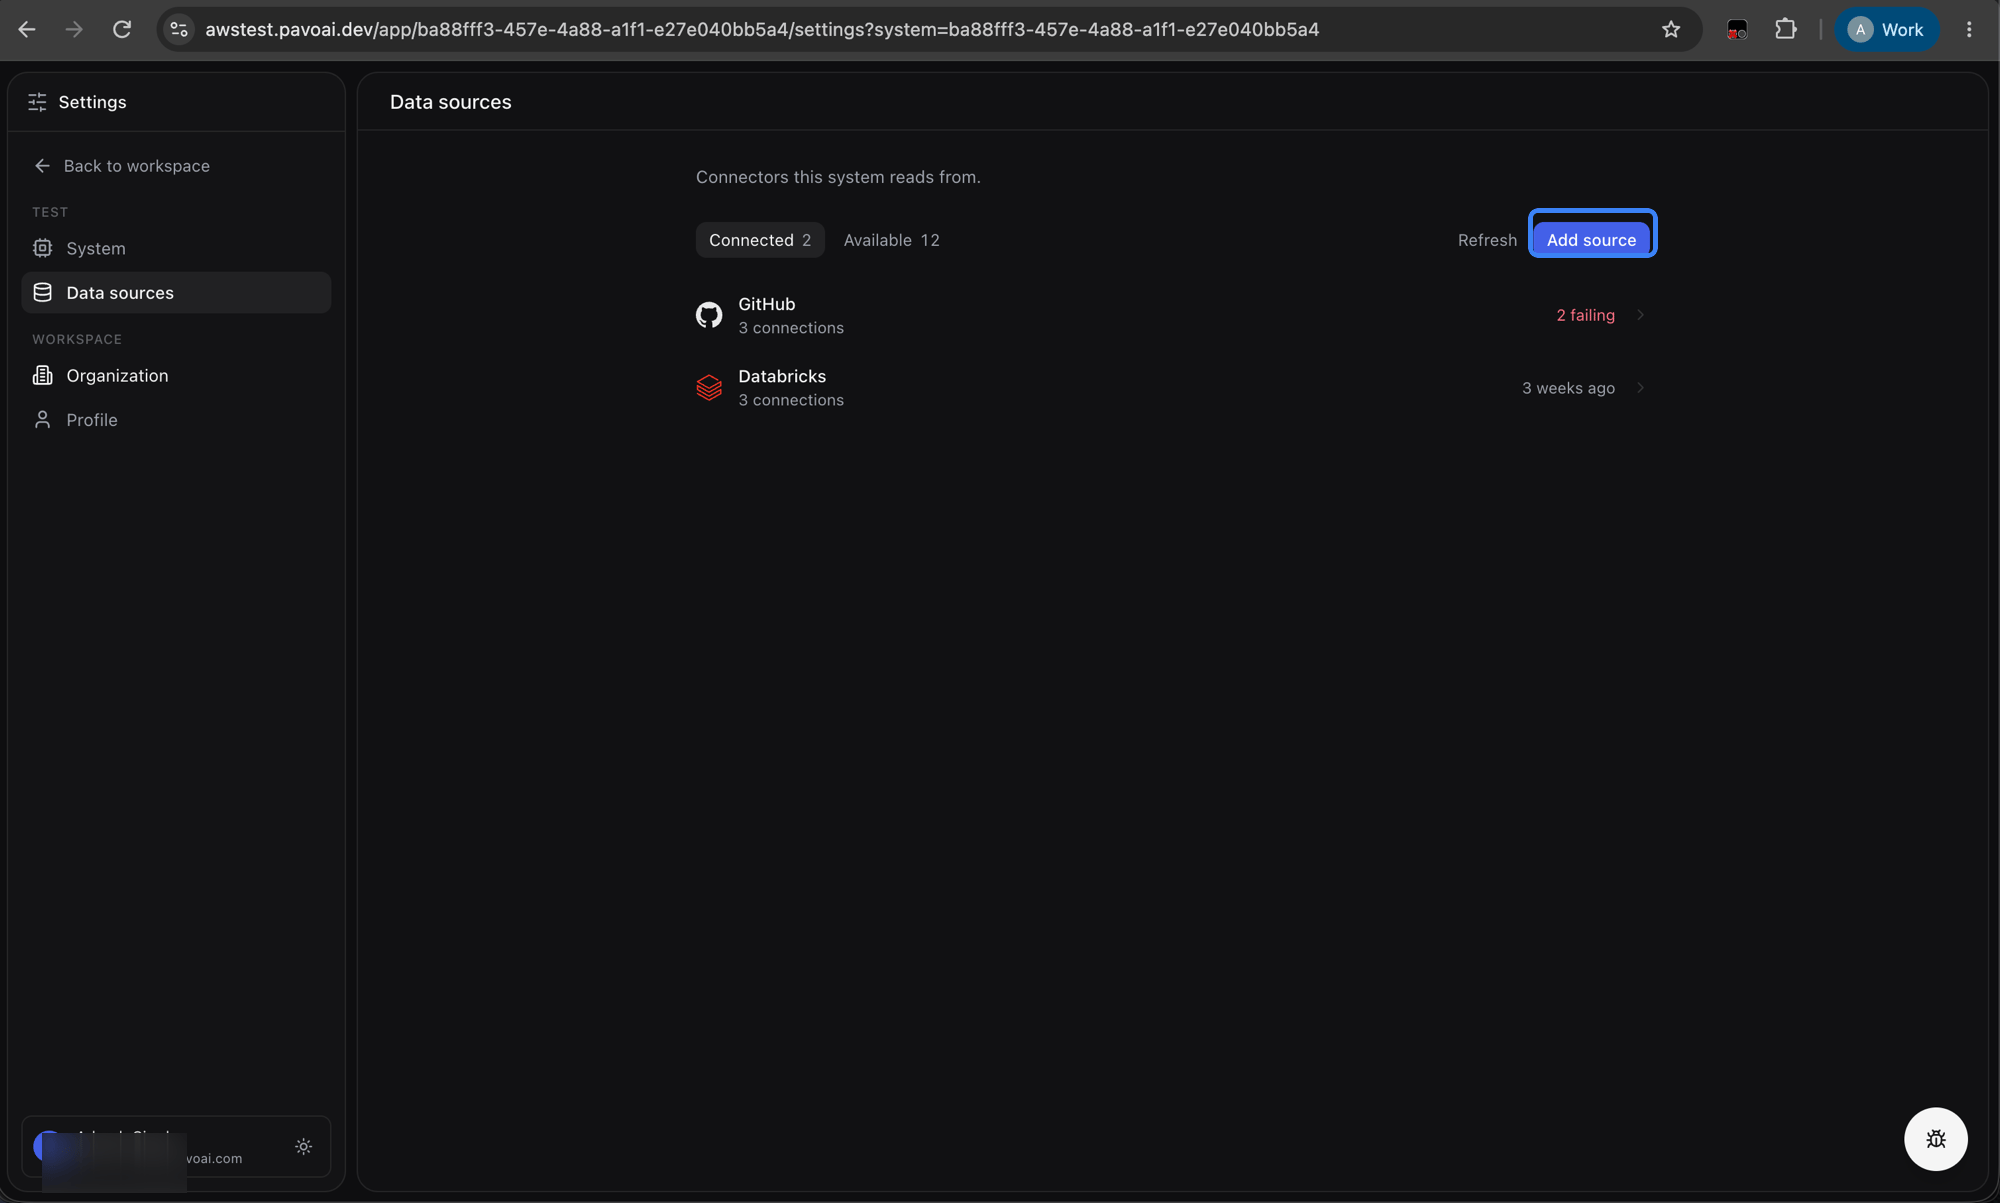
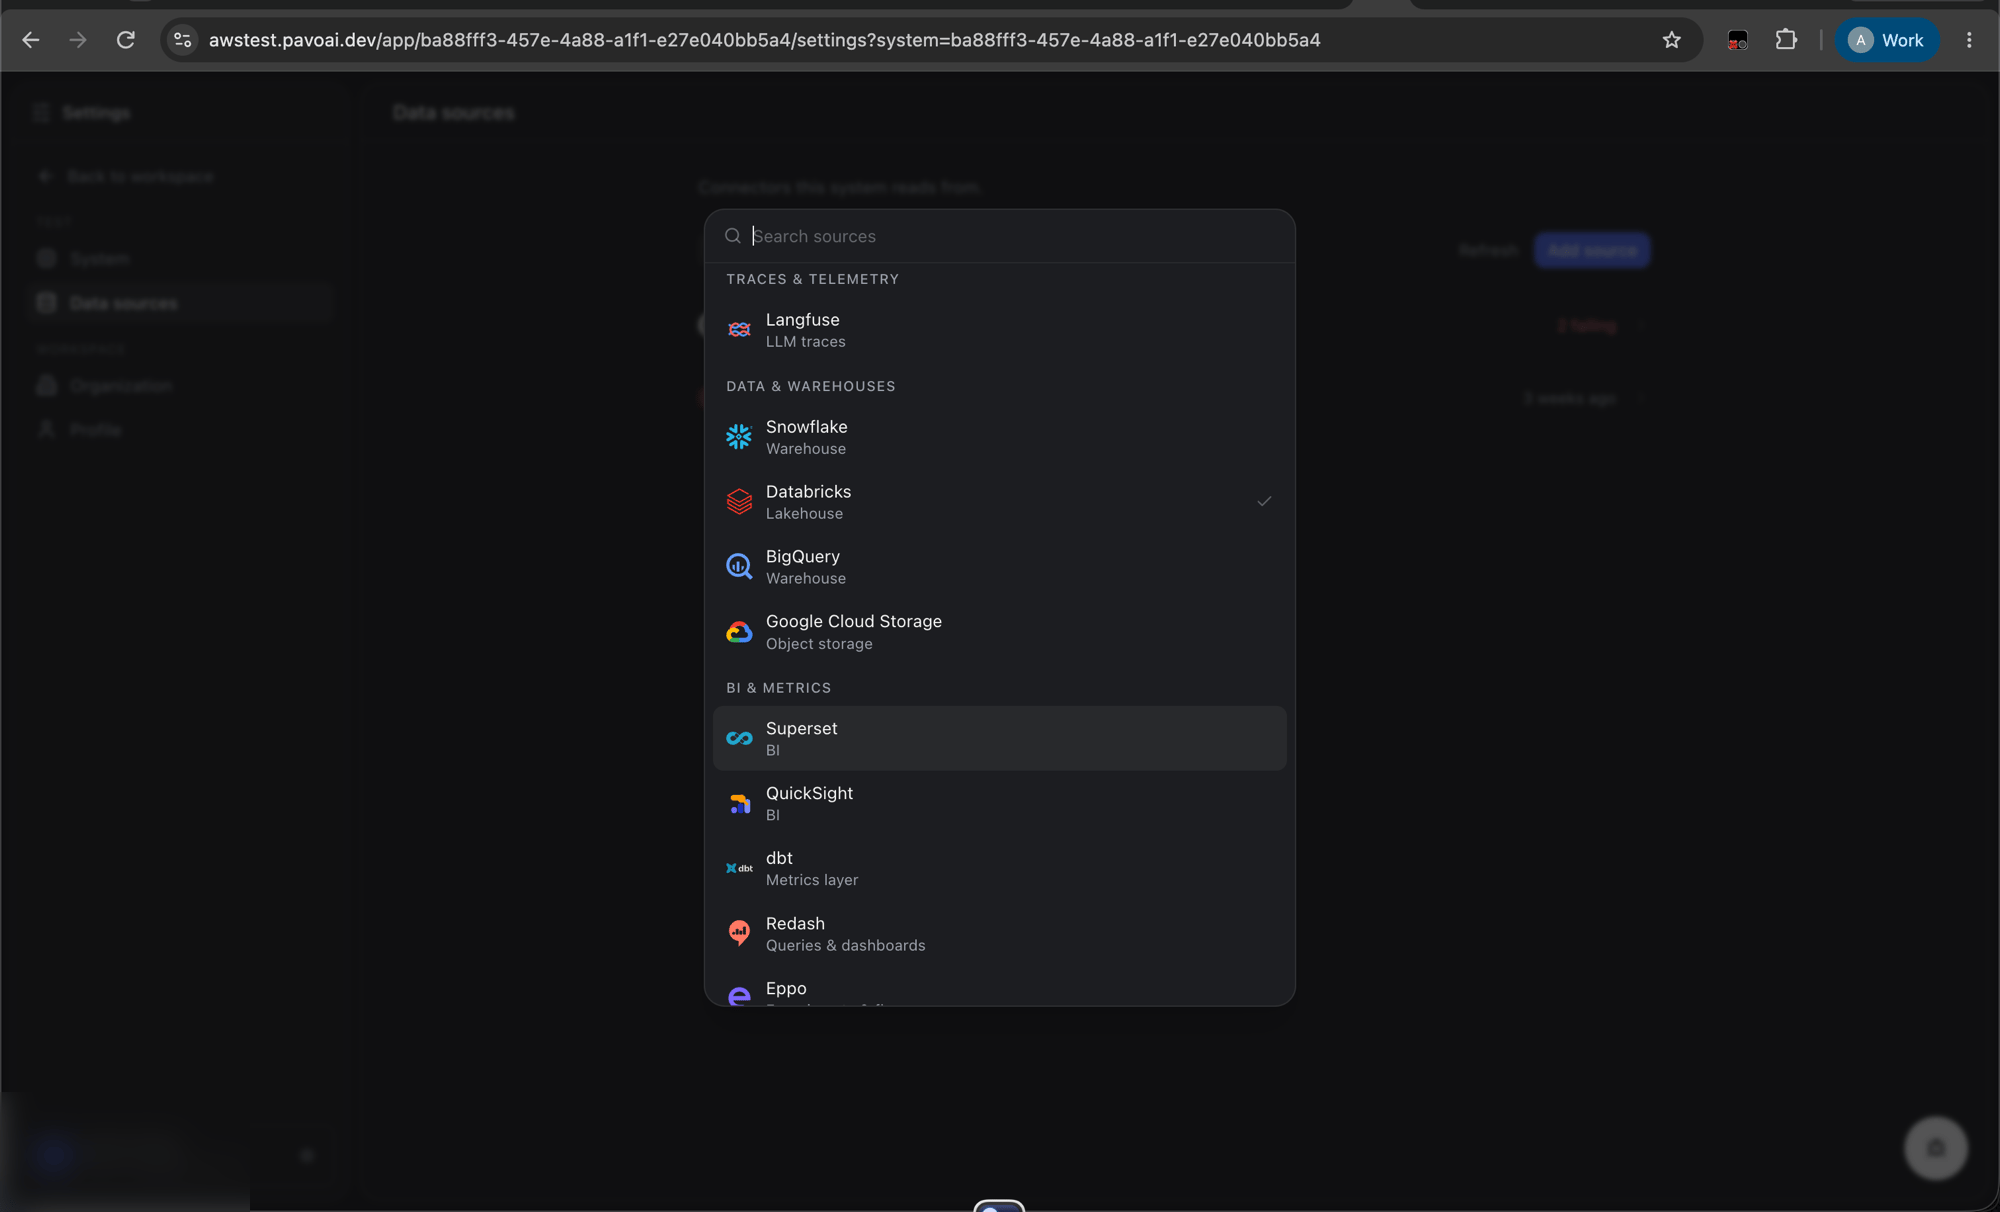
- AWS Access Key ID
- AWS Secret Access Key
- Region
- AWS Account ID
Step 6: Trigger Sync
Once the connector is saved and verified, click Sync Now on the QuickSight connector. Pavo will begin indexing:
Subsequent syncs are incremental: only resources modified since the last sync are reprocessed.
Troubleshooting
”Failed to connect to QuickSight”
- Verify the region matches where QuickSight is active in your account. QuickSight is regional: if your dashboards are in
us-east-1, you must use that region. - Confirm the IAM user has the
PavoQuickSightReadOnlypolicy attached. - Ensure the access key is active (IAM Console → Users → Security credentials → Access keys → Status should be Active).
”Access Denied” errors during sync
- Check that all nine permissions in the IAM policy are present. A common mistake is omitting the
Describe*Permissionsactions. - If your organization uses AWS Service Control Policies (SCPs), ensure they do not block QuickSight read actions.
Missing dashboards or analyses
- QuickSight resources are scoped to the AWS account. Confirm the
aws_account_idmatches the account that owns the dashboards. - Analyses with a status of
DELETEDin QuickSight are automatically excluded.
Revoking Access
To disconnect Pavo from your QuickSight account:- Go to IAM Console → Users →
pavo-quicksight-reader→ Security credentials. - Under Access keys, click Actions → Deactivate (to temporarily disable) or Delete (to permanently remove).
- Optionally delete the IAM user entirely.