

1. Overview
This document walks you through the one-time setup required on your Tableau site so Pavo can securely ingest data from your published Tableau data sources. Pavo connects to your Tableau site via Tableau’s REST API and VizQL Data Service (VDS) to read metadata and row-level data from published data sources you authorize. There are two supported authentication methods. Choose one based on your environment:
Connected App is the Pavo recommended approach.
2. Prerequisites
Regardless of method, confirm the following before starting:- You have Site Administrator role on the Tableau site you want Pavo to connect to.
- You know your site’s pod URL (e.g. https://10ax.online.tableau.com) and site content URL (the value after /site/ in your site URL, for the default site on Tableau Server, this is empty).
- You have identified the data source(s) you want Pavo to access. These must be published data sources (data sources embedded inside workbooks are not supported).
- Your Tableau site is on a version that supports VizQL Data Service:
- Tableau Cloud: supported (generally available).
- Tableau Server: version 2025.1 or later required.
3. Create a service user and grant data source access
These steps apply to both authentication methods. Complete this section before proceeding to Option A or Option B.3.1 Create a dedicated service user
Pavo should authenticate as a dedicated service account rather than an individual employee. This prevents access breaking if the employee leaves or changes roles.- Users (left navigation) → Add Users → Add Users by Email.
- Create a user with an email like tableau-pavoai@yourcompany.com (use a shared mailbox or group alias).
- Assign the site role Explorer (can publish) or higher.
- Grant this user access (direct or via group) to the projects and data sources Pavo should be able to read.
- Sign in as this user once to activate the account.
3.2 Grant API Access to the data sources
This step is commonly missed and will cause 403 errors if skipped. For each published data source Pavo should access:- Navigate to the data source in Tableau.
- Click Actions → Permissions.
- Add the service user (or the group containing it).
- Ensure the API Access capability is set to Allowed.
- Click Save.
4. Option A [Recommended]: Connected App with Direct Trust (JWT)
4.1 Create the Connected App
- Sign in as a Site Administrator.
- Settings (left navigation) → Connected Apps tab.
- Click the New Connected App dropdown → Direct Trust.
- In the dialog:
- Connected app name: Pavo
- Access level / Applies to: select either All projects or the specific projects Pavo should access (recommended: limit to a dedicated project).
- Domain allowlist: leave as All domains (this setting applies only to embedded content, not REST/VDS API calls).
- Click Create.
4.2 Generate the secret
- Click into the newly created Pavo connected app.
- Click Generate New Secret.
- You will see:
- Secret ID: a UUID (always visible).
- Secret Value: click the eye icon to reveal. Copy this value immediately to a password manager. The value is displayed once and cannot be retrieved afterward.
- Also copy the Client ID shown further down the page.
4.3 Enable the Connected App
Connected Apps are created in a disabled state.- On the Connected App detail page, click the ⋯ (three-dots menu) next to the app name.
- Select Enable.
- Confirm the Status field now reads Enabled.
4.4 Identify the user(s) Pavo will impersonate
Unlike a PAT, a Connected App does not log in as the app: each JWT specifies which Tableau user to act as (the sub claim). Pavo will impersonate this user, and will inherit all of that user’s permissions including row-level security. Recommended: use the dedicated service user created in Section 3.1. Ensure that user has been granted API Access on the relevant data sources per Section 3.2. If your use case requires Pavo to act as multiple users (e.g. for per-user RLS enforcement), configure user mapping in Pavo’s advanced connector settings.4.5 Add the Connector in Pavo
Navigate to Settings → Data sources and click Add source.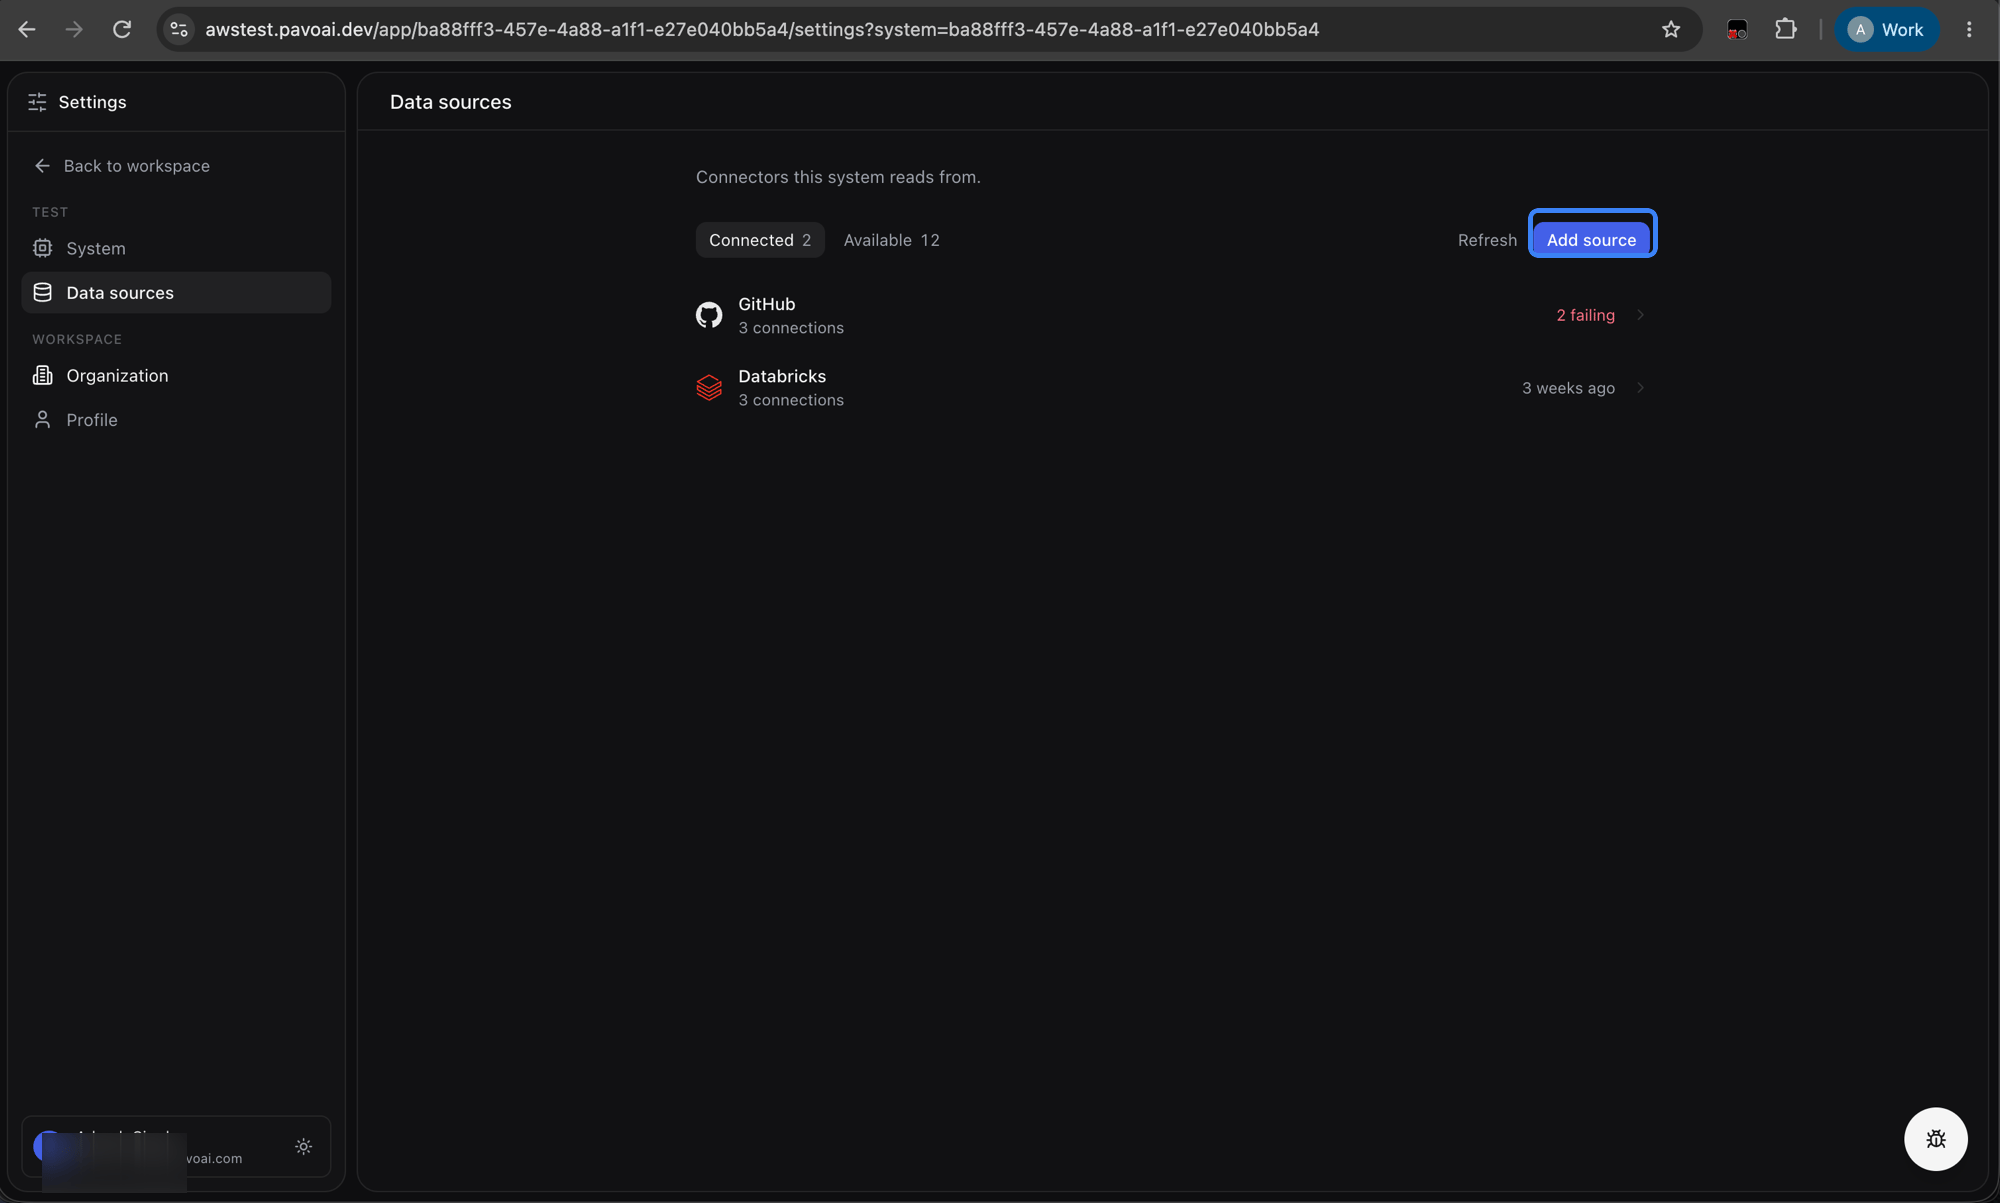
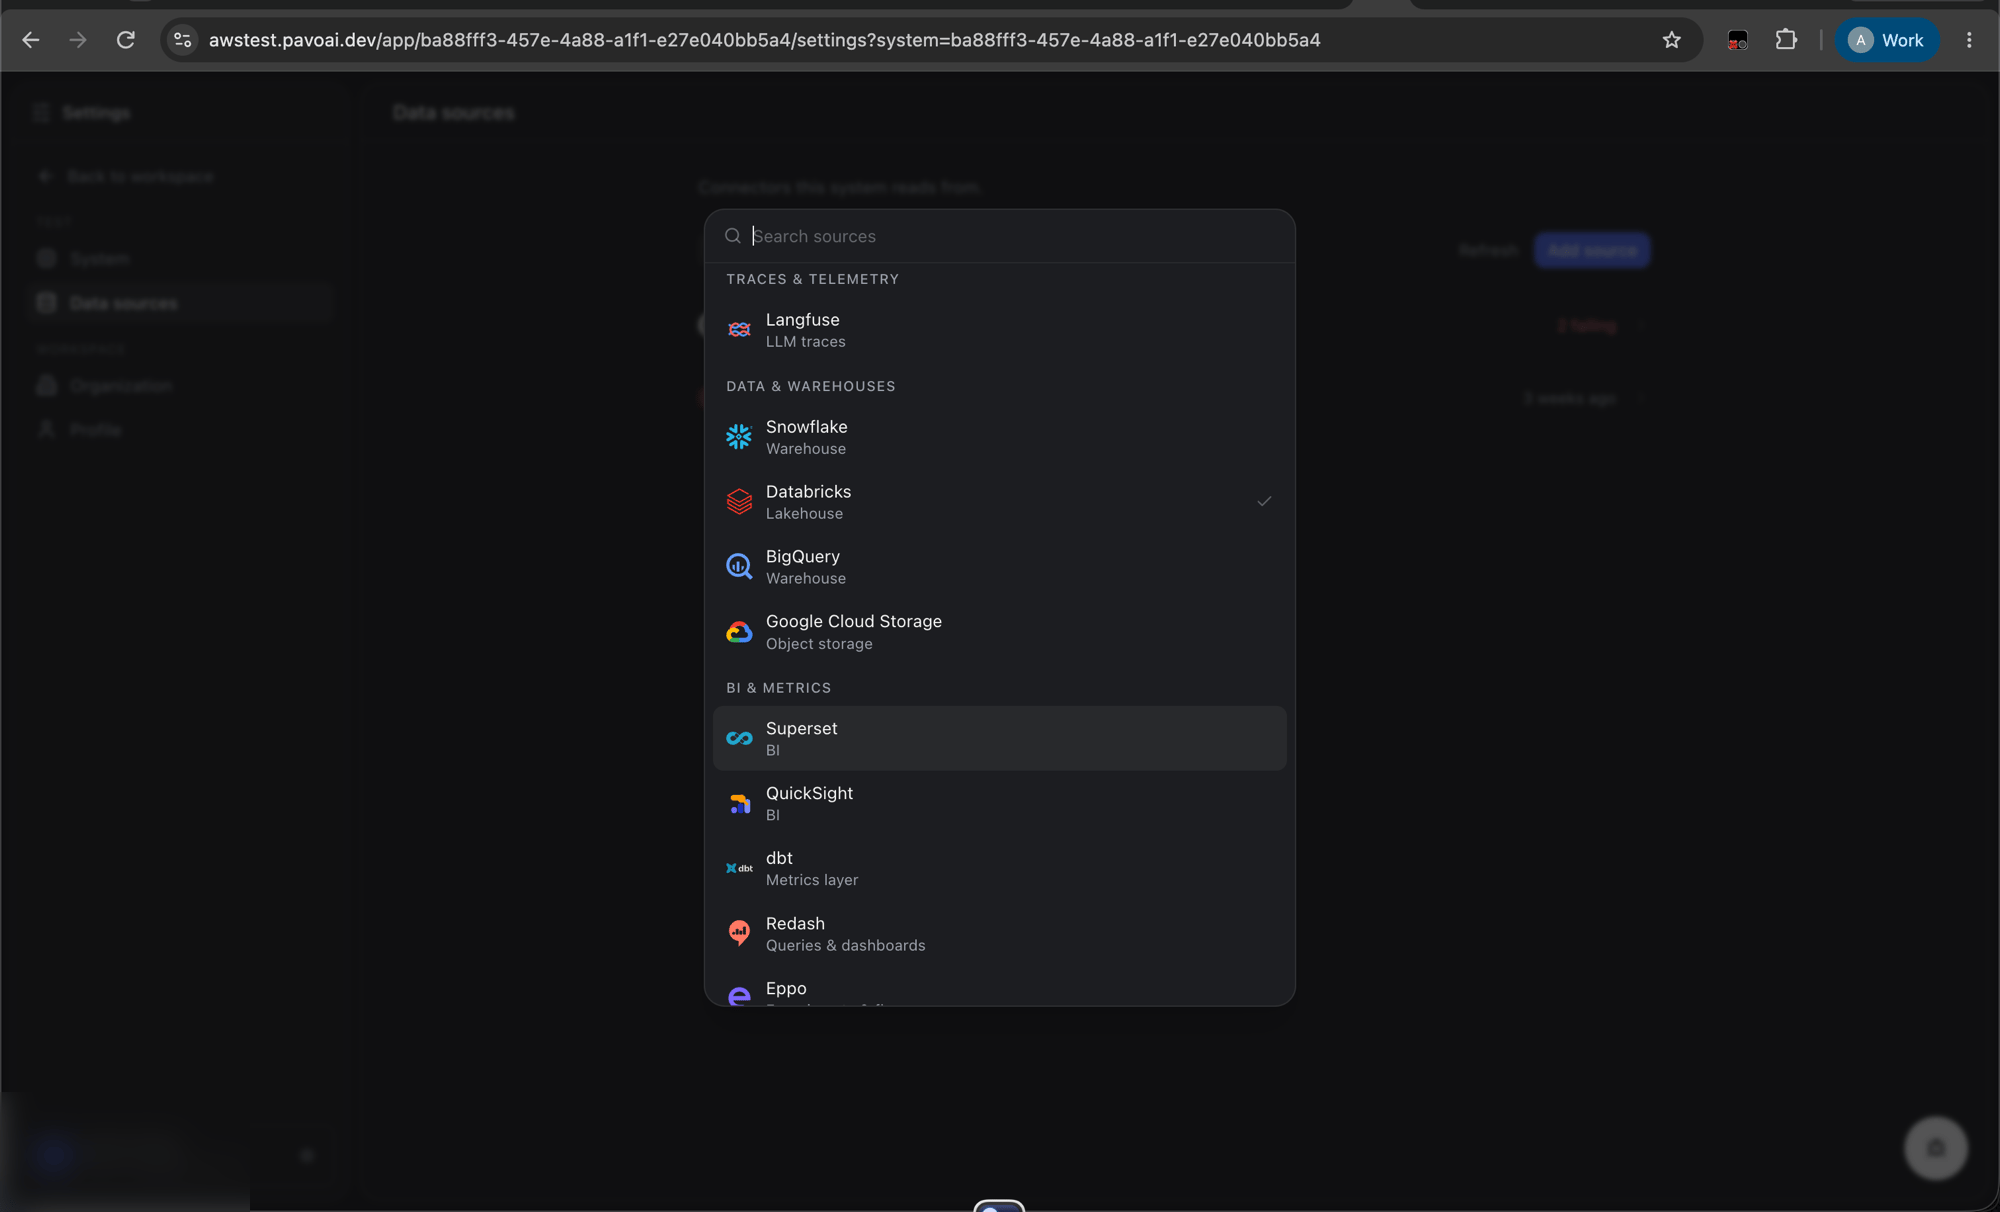
Click Connect. Pavo will verify connectivity and begin syncing.
Skip to Section 6 for verification.
5. Option B [NOT Recommended]: Personal Access Token (PAT)
5.1 Enable PAT creation on the site
On Tableau Cloud sites activated after June 2023, PAT creation is disabled by default. Enable it first:- Sign in to your Tableau site as a Site Administrator.
- In the left navigation, click Settings.
- On the General tab, scroll to the Personal Access Tokens section.
- Check Enable personal access tokens.
- Under Applies to, select either All users or a specific group (a dedicated group for service accounts is recommended).
- Under Set expiration period, select 180 days (or your organization’s standard).
- Click Save at the bottom of the page.
5.2 Create the PAT
Signed in as the service user created in Section 3.1 (not the admin user):- Click the profile icon (top right) → My Account Settings.
- Scroll to the Personal Access Tokens section.
- Enter a token name (e.g. pavoai-prod).
- Click Create Token.
- Copy the Token Secret immediately. It is displayed only once. If lost, you must create a new token.
- Click Done.
5.3 Add the Connector in Pavo
Navigate to Settings → Data sources and click Add source.
Click Connect. Pavo will verify connectivity and begin syncing.
6. Verification
After connecting, Pavo runs a connectivity test:- Authenticates against your Tableau site.
- Lists the projects and data sources visible to the configured user.
- Fetches metadata (field names and types) from your data sources.
Pavo is read only by design. Pavo requests only read scopes (tableau:content:read, tableau:viz_data_source:read) in every JWT. No write, delete, or admin scopes are ever requested. You can verify this in your Tableau audit log, and you can further enforce it by assigning the service user (Section 3.1) a Viewer or Explorer site role, neither of which permits modification of published data sources.