

Prerequisites
- A running Redash instance (self-hosted or hosted)
- A Redash user account with access to the dashboards and queries you want to sync
- The base URL of your Redash instance (e.g.
https://redash.yourcompany.com)
Step 1: Generate a Redash API Key
Pavo authenticates using a Redash API key, which is tied to a specific user account.- Log in to your Redash instance.
- Click your profile icon in the top-right corner → Profile.
- On your profile page, find the API Key section.
- Your API key is displayed here. Click the copy icon or select and copy the value.
The API key grants the same level of access as the user it belongs to. Pavo will only be able to see dashboards and queries that this user can access.
Recommended: Create a Dedicated Service Account
For production use, create a dedicated Redash user for Pavo rather than using a personal account:- Go to Settings → Users → New User.
- Create a user (e.g.
pavo-reader@yourcompany.com). - Assign the user to the appropriate groups that have access to the dashboards and data sources you want Pavo to sync.
- Log in as the new user and copy their API key from the profile page.
- Pavo’s access is auditable and independent of any individual’s account
- Access can be revoked without affecting any person’s Redash account
- Permissions are explicitly scoped via Redash group membership
Step 2: Gather Your Connection Details
You need two values to connect Pavo to Redash:Step 3: Add the Connector in Pavo
Navigate to Settings → Data sources and click Add source.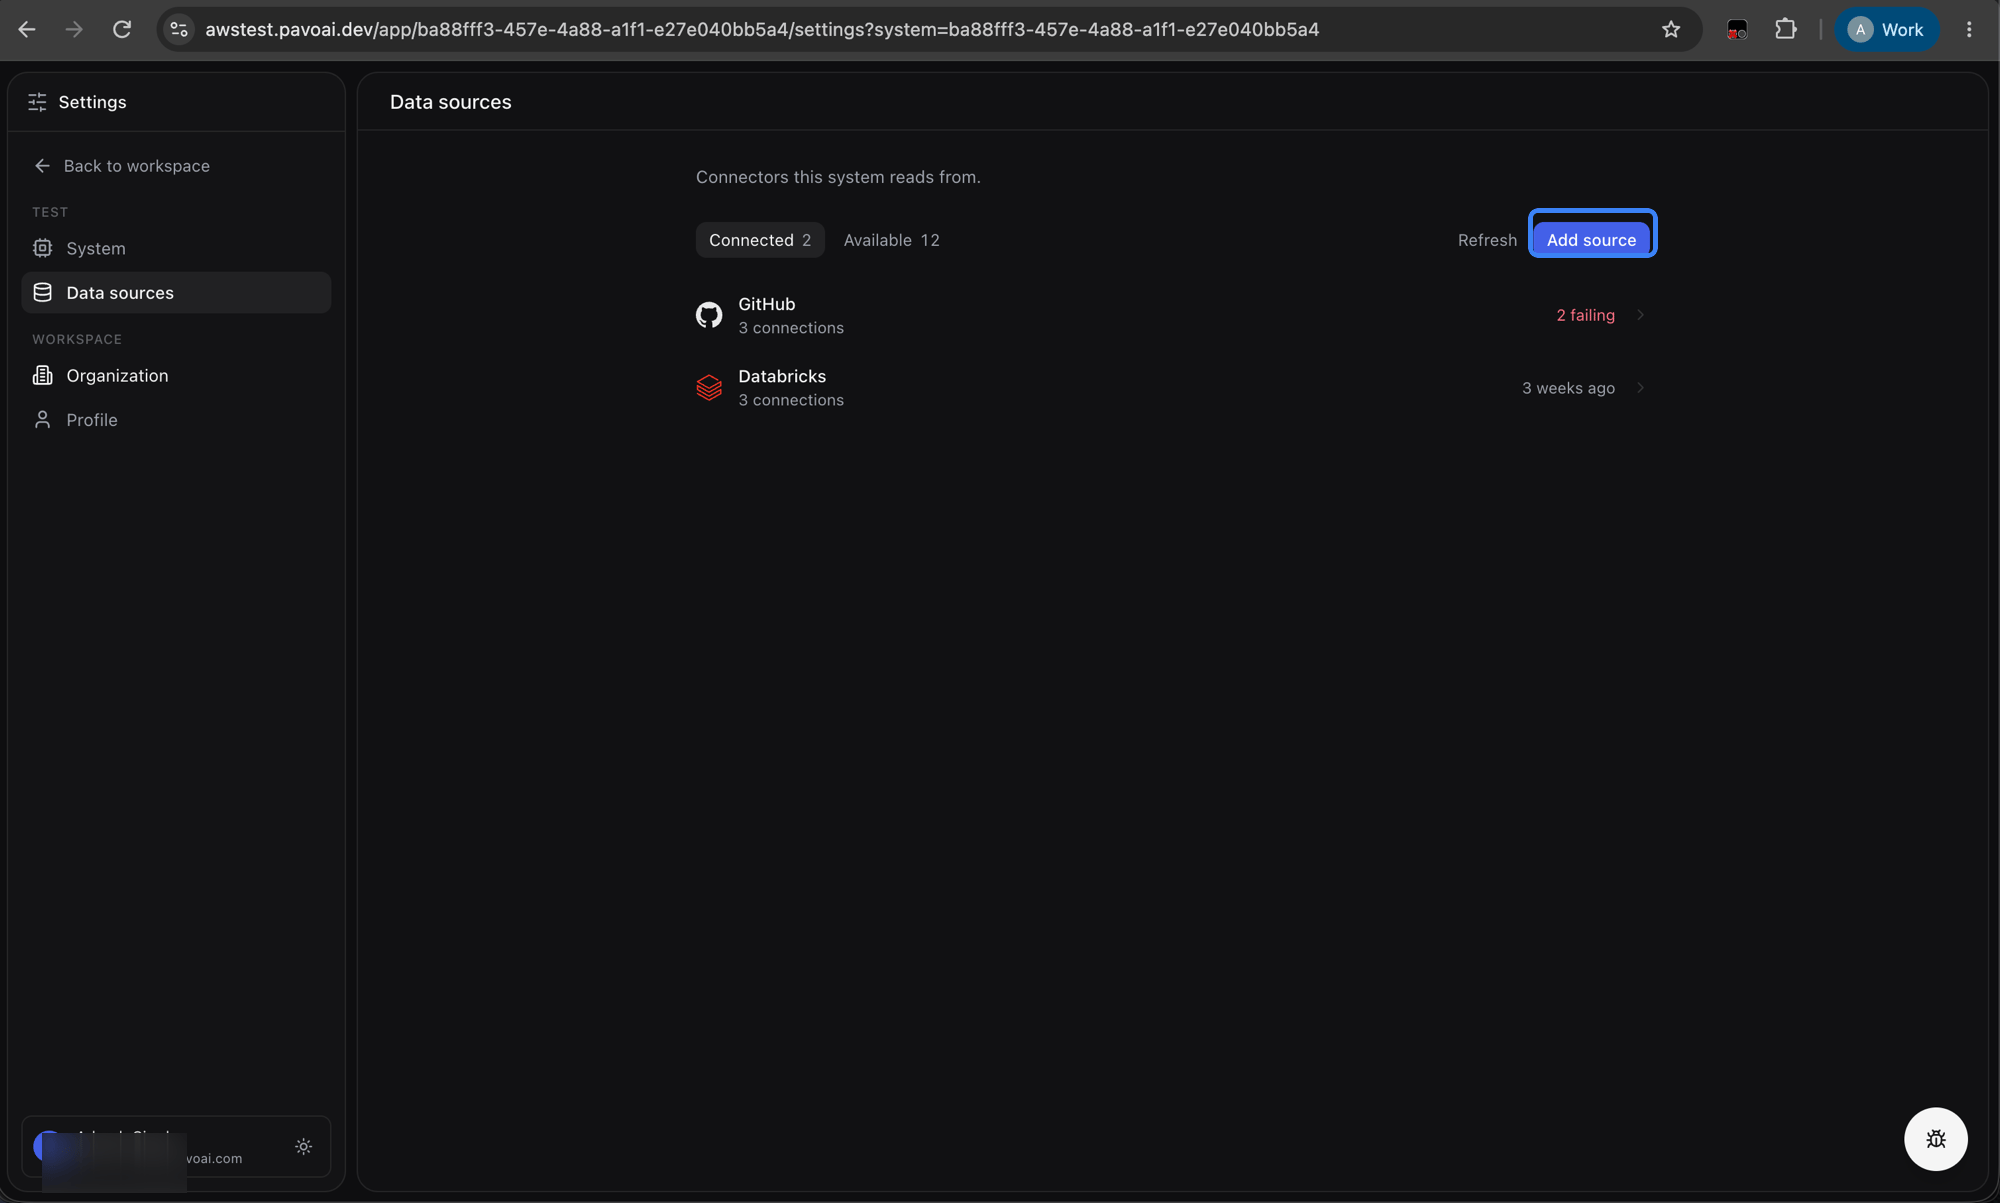
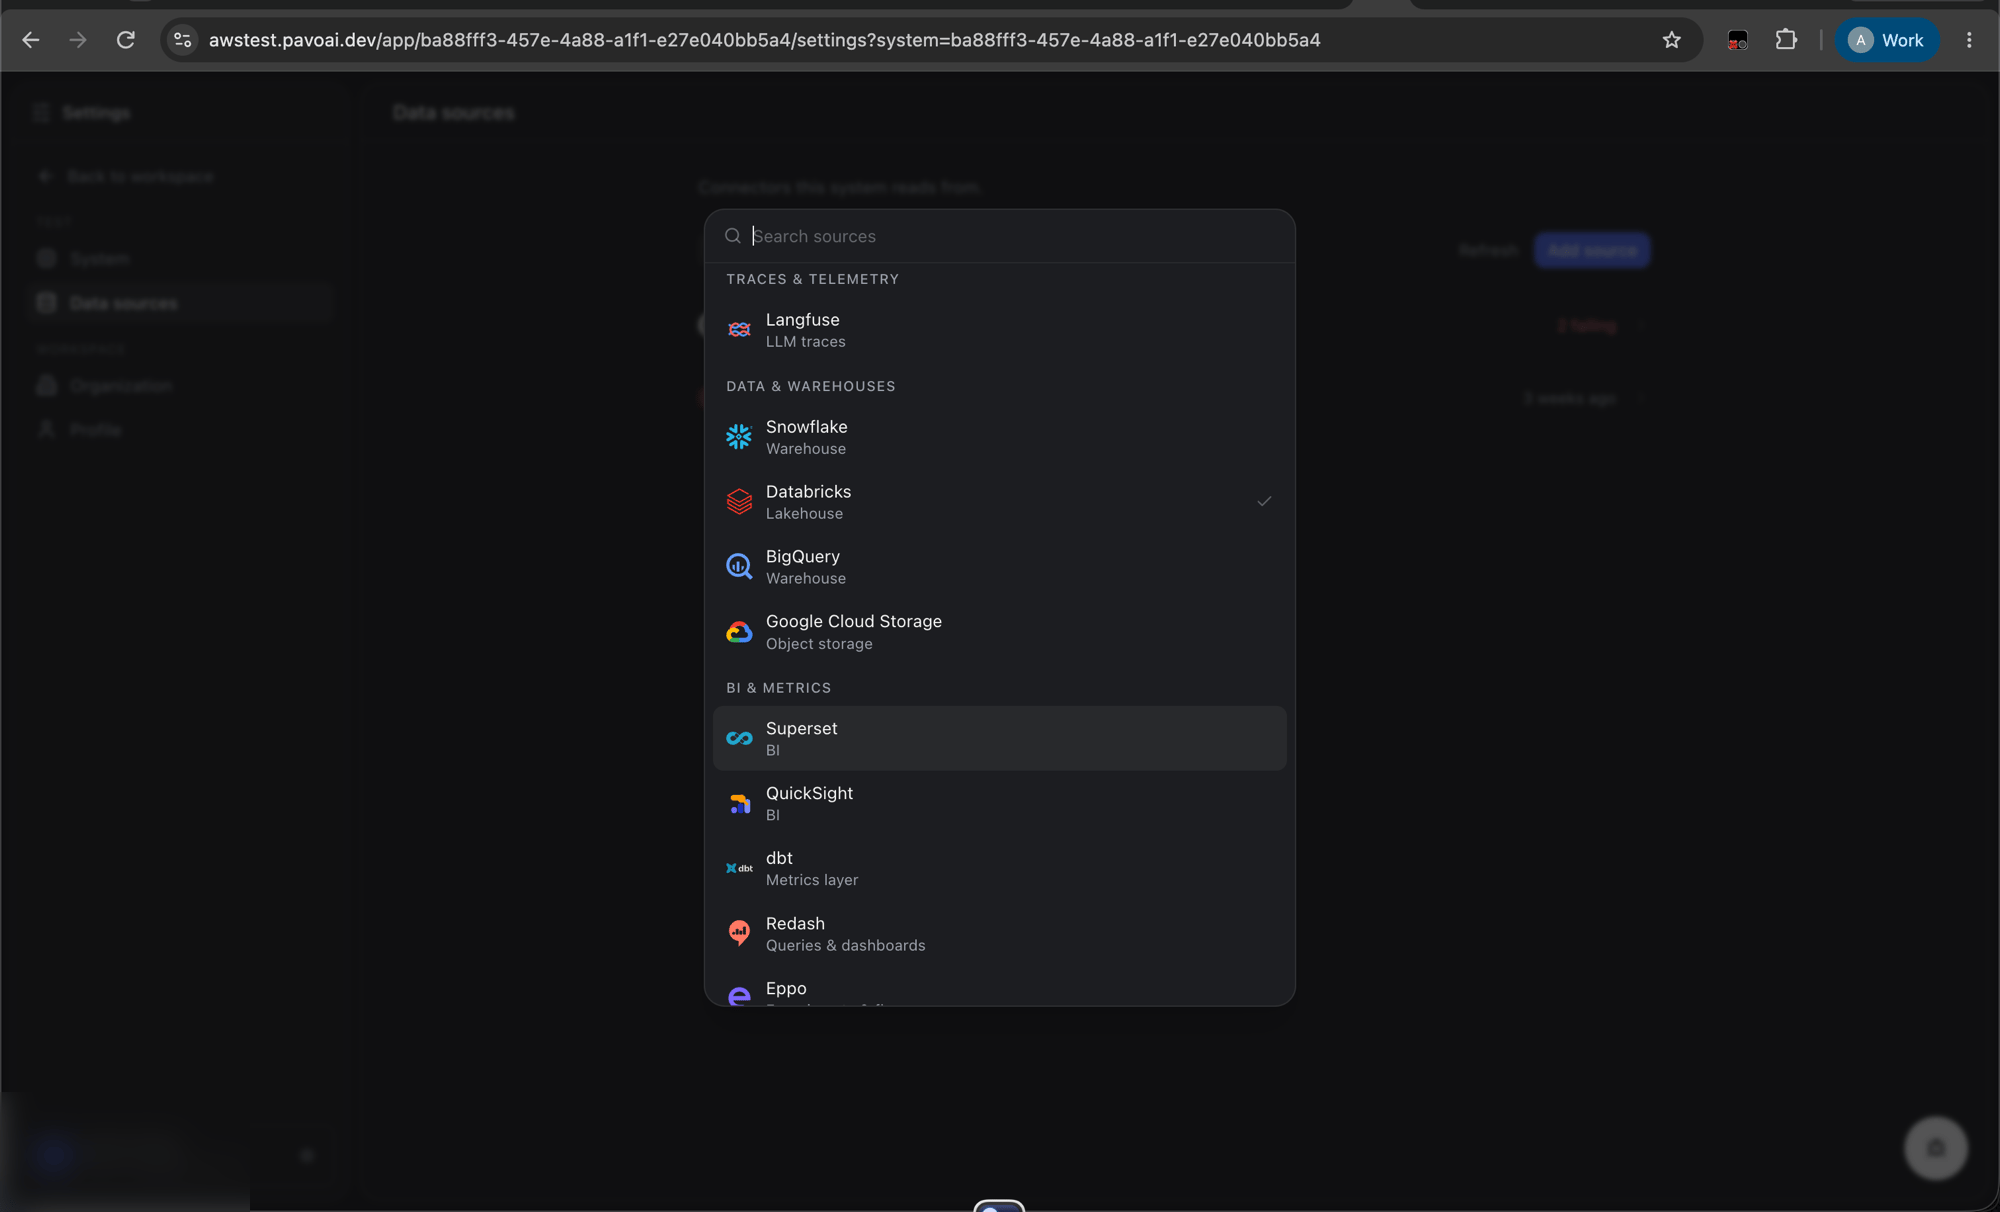
- Base URL: your Redash instance URL
- API Key: the API key from Step 1
/status.json endpoint.
Step 4: Trigger Sync
Once the connector is saved and verified, click Sync Now on the Redash connector. Pavo will begin indexing:
Text-only dashboard widgets (those without a backing query) are skipped.
Subsequent syncs are incremental: only resources modified since the last sync are reprocessed.
Redash API Endpoints Used
For transparency, here are the Redash REST API endpoints Pavo accesses (all read-only):
All requests use the header
Authorization: Key <api_key>.
Troubleshooting
”Failed to connect to Redash”
- Verify the base URL is correct and reachable from the network where Pavo is running. Try opening
https://redash.yourcompany.com/status.jsonin a browser: you should see a JSON response with version info. - Ensure there is no trailing slash in the base URL (
https://redash.yourcompany.com, nothttps://redash.yourcompany.com/). - Check that the API key is valid, test it with:
curl -H "Authorization: Key YOUR_API_KEY" https://redash.yourcompany.com/api/dashboards?page_size=1
Missing dashboards or queries
- Pavo can only see dashboards and queries that the API key’s user has access to. Verify the user is a member of the correct Redash groups.
- Archived dashboards and queries may not appear. Check if the resources are archived in the Redash UI.
”Network unreachable” or timeout errors
- If your Redash instance is behind a VPN or firewall, ensure that Pavo’s servers can reach it. You may need to whitelist Pavo’s IP addresses or set up a VPN tunnel.
- For self-hosted Redash, ensure the instance is accessible via HTTPS on the standard port (443).
Visualization data not showing
- Pavo fetches cached query results for visualization previews. If a query has never been run, there will be no cached result to display.
- Run the query manually in Redash at least once so that a
latest_query_data_idis available.
Revoking Access
To disconnect Pavo from your Redash instance:- Log in to Redash as an admin.
- Go to Settings → Users → find the Pavo service account user.
- Click Disable to deactivate the account, which immediately invalidates the API key.